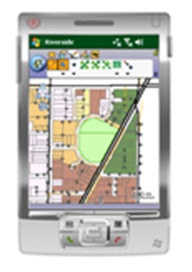
Using a Device Emulator with ArcPad 10

 Exciting new changes in ArcPad 10 now allow users to cradle Device Emulators using ArcPad Studio (with or without using Visual Studio). However, some users may find that they are unable to install ArcPad 10 on the Device Emulator due to insufficient memory.
Memory usage on Device Emulators can be improved by storing data in a Shared Folder to be accessed by the Device Emulator's Storage Card. Also remember to perform a complete uninstall and Clear Saved State of the device before attempting to re-install ArcPad.
If you are still unable to successfully install ArcPad 10, here are 2 methods that will help to have you up and running on a Device Emulator.
Method 1 - How to re-size the RAM in the Device Emulator:
To re-size RAM using Visual Studio
- On the Visual Studio Tools/Options/Device Tools/Devices dialogue, select the emulator whose RAM you want to change, click Properties, and then click Emulator Options.
- On the General tab, select Specify RAM size.
- Click File/Clear Saved State and Re-connect the device for changes to take effect.
Method 2 – Installing ArcPad 10 to a Device Emulator without using the Deployment Manager:
1. Open the Device Emulator
2. Use File/Configure… to open the Emulator Properties dialogue.
3. On the General tab, set the Shared Folder path to - C:\Program Files\ArcGIS\ArcPad10.0\CABs
4. Reset the device
5. Navigate to the Storage Card and launch the ArcPad Application.ARM.CAB
6. Follow the prompts to install ArcPad 10 on the device
ArcPad 10 is now installed on the device. The Shared Drive path can now be changed back to your regular shared folder (reset required for changes to take effect).


 News Feed (Atom)
<< Home